

How to Install TPO Waterproofing Membrane: Key Steps and Common Errors

The TPO waterproofing membrane is extensively applied in roofing and waterproofing due to its weather resistance, flexibility, and effective seam welding. However, the efficiency of the TPO roofing membrane will depend on the membrane material as well as the installation process.
There are various stages that have to be considered in the course of an appropriate installation, such as substrate preparation, membrane placement, attaching, hot-air welding, seam examination, and detailing.
What Do You Need Before Installing TPO Membrane?
Before starting the installation, make sure the membrane, substrate, equipment, and site conditions are suitable for the planned waterproofing system.
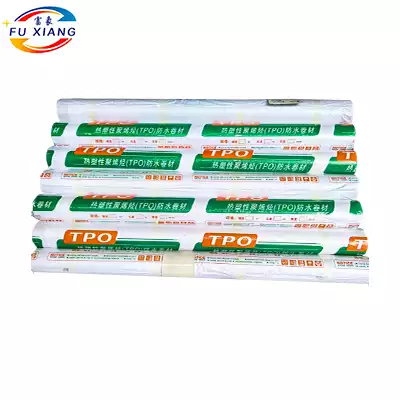
The main materials and equipment may include:
- TPO waterproofing membrane
- Compatible fasteners and plates or adhesive, depending on the system
- Hot-air welding equipment
- Hand-held hot-air welder for detail areas
- Seam inspection tools
- Suitable tools for cutting and positioning the membrane
The substrate should be solid, clean, and without any loose material or foreign objects. Surface defects that could potentially have an effect on the membrane must be repaired before applying the membrane.
It is necessary to verify the installation environment. The temperature, humidity, and other factors of the site could influence the installation and hot-air welding of the membrane. Membrane manufacturers' technical instructions for the membranes must always be followed.
Key Steps for TPO Waterproofing Membrane Installation
TPO membrane installation consists of several connected steps. While the process may vary depending on the roofing or waterproofing system, the following stages are commonly involved.
Step 1 — Prepare the Substrate
First, the substrate where the TPO membrane will be installed needs to be prepared.
Remove dust, dirt, debris, loose materials, and other contaminants. The substrate should be sufficiently smooth and stable so that sharp objects or uneven areas do not damage the membrane.
Moisture is another factor to be taken into account when installing the membrane. Putting the membrane onto the wrong substrate or too wet substrate may lead to problems in the waterproofing system.
Before moving forward, check the surface for cracks, damaged areas, irregularities, or other conditions that could affect membrane installation. The exact substrate requirements depend on the system design, so preparation should follow the applicable specifications.
Step 2 — Plan and Position the TPO Membrane
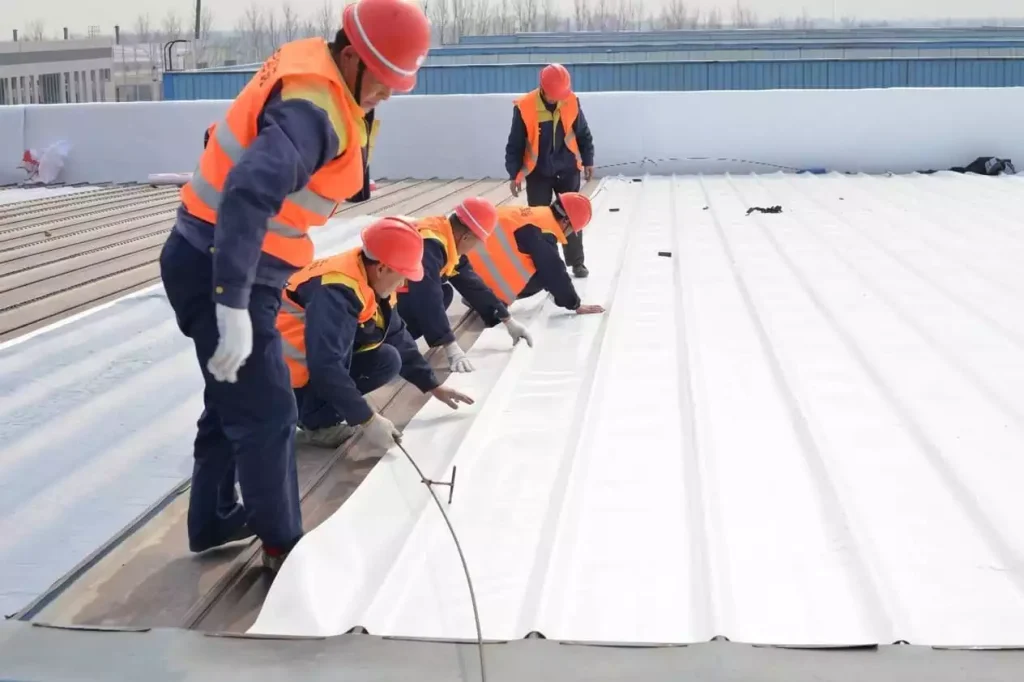
Once the substrate is ready, the TPO membrane can be positioned according to the planned layout.
Membrane sheets should be arranged with appropriate overlaps for subsequent seam welding. The layout should also take roof edges, drains, penetrations, corners, and other details into account.
Good positioning is important because poorly planned seams can make installation more difficult and increase the number of complicated detail areas.
Avoid unnecessary folds, excessive tension, or wrinkles when positioning the membrane. The membrane should be laid out in a way that allows the seams to be welded consistently.
Step 3 — Secure the TPO Membrane
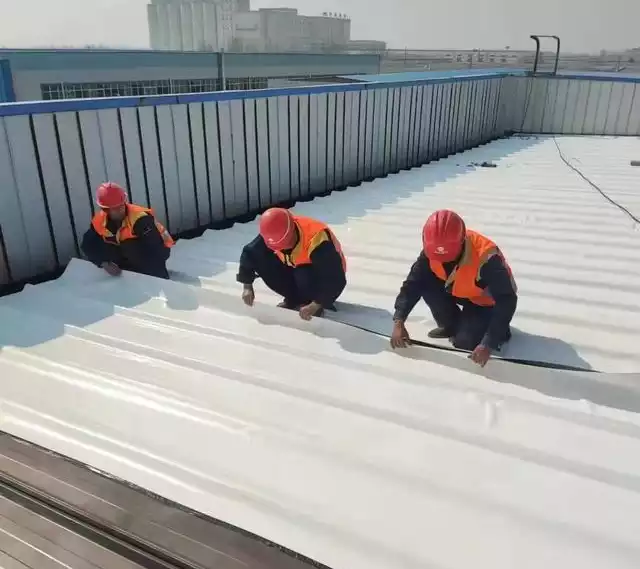
The membrane then needs to be secured according to the design of the waterproofing system.
Mechanical attachment uses compatible fasteners and plates to secure the membrane, while fully adhered systems use an appropriate adhesive. The choice depends on factors such as the substrate, roof design, wind requirements, and the specific TPO system.
The attachment method should also maintain the membrane's ability to accommodate normal movement within the system. Fasteners, plates, and other components should be installed according to the manufacturer's specifications rather than using a one-size-fits-all approach.
Step 4 — Hot-Air Weld the TPO Seams
Hot-air welding is one of the most important stages of TPO membrane installation. Adjacent membrane sheets are joined by applying controlled heat to the overlapping area, creating a continuous welded seam.
Before welding, the seam area should be clean and dry. Dust, moisture, or other contamination can interfere with proper fusion.
Welding temperature and travel speed must also be properly matched. There is no single temperature or welding speed that is suitable for every TPO membrane and every installation condition. Membrane thickness, equipment, ambient temperature, wind, and the manufacturer's recommendations can all affect the appropriate settings.
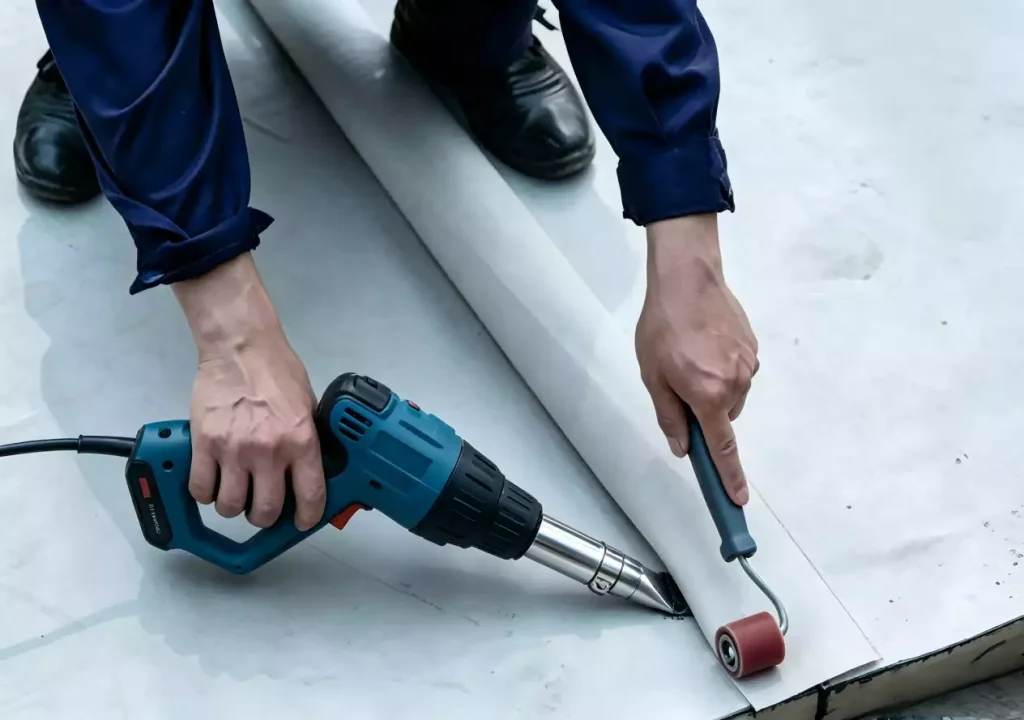
A test weld should therefore be performed before production welding begins. The test helps confirm whether the selected temperature and speed provide suitable fusion under the actual site conditions.
If the welding temperature is too low or the equipment moves too quickly, the membrane may not fuse adequately. Excessive heat or an unsuitable welding speed can also damage the membrane or affect seam consistency.
For large, straight seams, automatic hot-air welding equipment can provide more consistent results. Hand-held welders are generally more suitable for corners, penetrations, edges, and other areas where the geometry is more complex.
Step 5 — Inspect the Welded Seams
A welded seam should not simply be considered acceptable because it has been completed.
After the seam has cooled, inspect it for visible defects such as incomplete welding, uneven areas, contamination, burn marks, gaps, or other abnormalities.
A suitable probe or seam inspection method can also be used to identify areas where the fusion may be incomplete.
Regular inspection is particularly important because a weak seam can become a potential leakage point even when the membrane itself remains undamaged.
For larger projects, test welds and seam inspections should be carried out consistently rather than only when an obvious problem appears.
Step 6 — Treat Roof Details and Penetrations
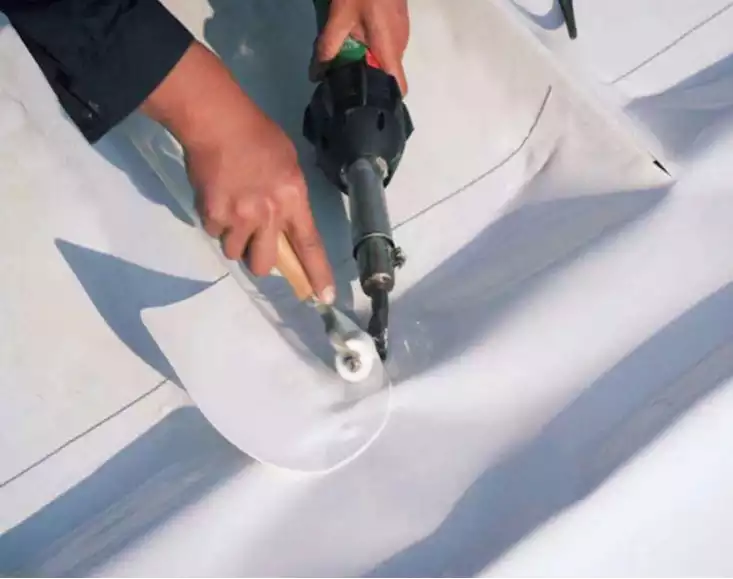
The final stage involves paying close attention to areas where the membrane changes direction or meets another component.
Typical detail areas include:
- Roof drains
- Pipe penetrations
- HVAC penetrations
- Corners
- Parapets
- Roof edges
- Terminations
These locations require careful treatment because they contain more transitions, joints, or changes in geometry than large flat membrane areas.
Detail work should use compatible TPO materials and follow the requirements of the specific system. Properly addressing these areas helps maintain continuity between the main membrane surface and the surrounding components.
Common TPO Installation Errors to Avoid
Even when the main installation process is followed correctly, several common mistakes can affect the final result.
- Installing over an unsuitable substrate can create problems that remain beneath the membrane.
- Poor membrane positioning or incorrect overlap can make seam welding more difficult and reduce installation consistency.
- Using inappropriate welding temperature or speed may result in incomplete fusion or membrane damage.
- Welding contaminated surfaces can interfere with proper bonding between membrane layers.
- Skipping test welds removes an important opportunity to confirm suitable welding parameters before starting larger sections.
- Failing to inspect completed seams can allow weak or incomplete welds to remain unnoticed.
- Neglecting penetrations and edges can create vulnerable points in an otherwise continuous waterproofing system.
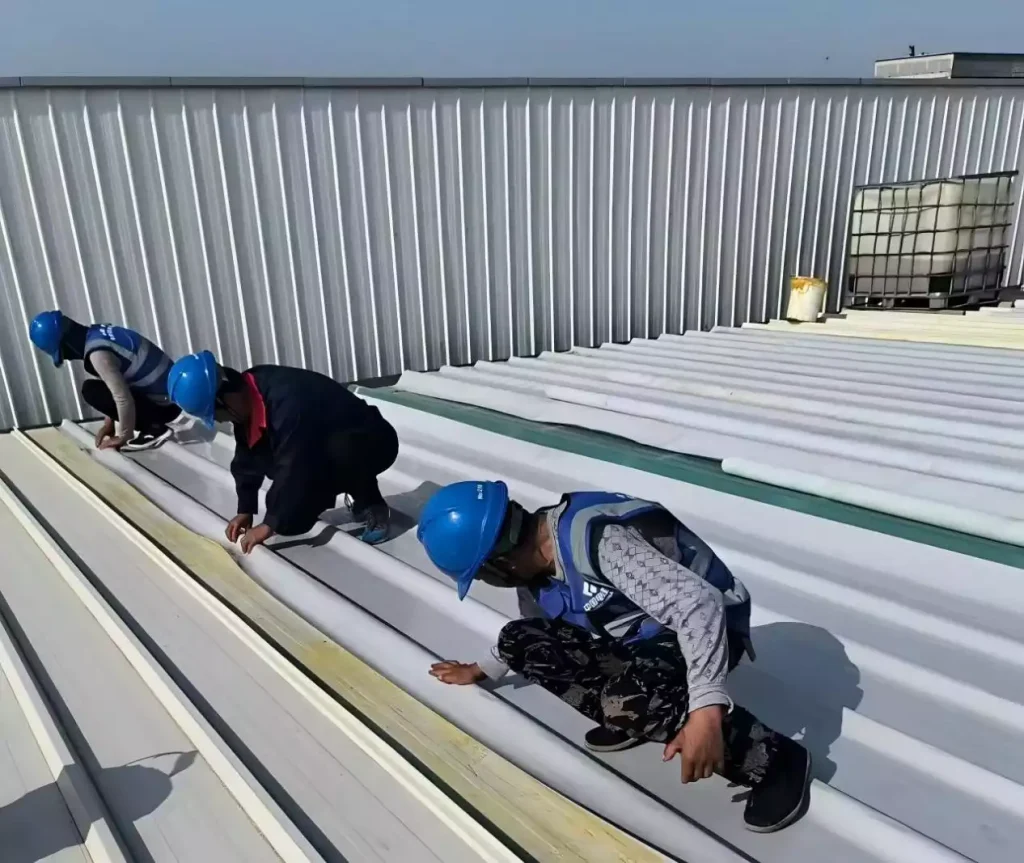
Successful TPO waterproofing installation is not simply a matter of laying down the membrane. Substrate preparation, membrane positioning, attachment, seam welding, inspection, and detail treatment all contribute to the final performance of the system.
Among these stages, hot-air welding deserves particular attention. Correct welding temperature, travel speed, equipment condition, surface cleanliness, and test welds can all affect seam quality. By following the manufacturer's technical requirements and carefully checking the completed seams, installers can achieve a more reliable and continuous TPO waterproofing system.